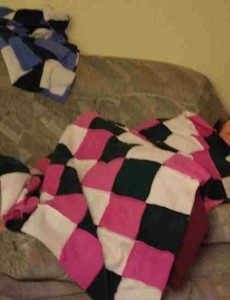
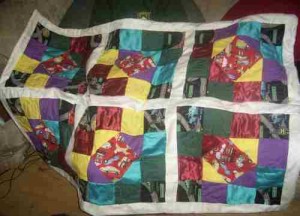
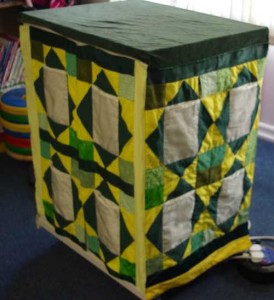
I’ve been wanting to make more use of my quilting and hopefully make a bit more of a business out of them.
(Sorry about the picture quality I wanted to make it quick/easy to upload, if you think I need full quality images let me know and I’ll alter them.)
I decided to blog the making of one for some friends Wedding recently and get your feed back and ideas.
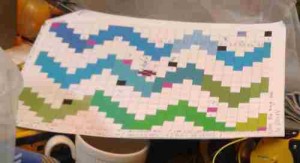
The plan was made up using a spreadsheet programme (I find this is the best way for me, I can edit it, manipulate it all I like, but the sizes stay the same.) The fabric was cut to the sizes needed – this was very much a case of I need 3 of this colour of this size, 2 of that and 4 of the other, next colour!
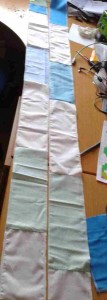
I decided to make this quilt in ‘columns’
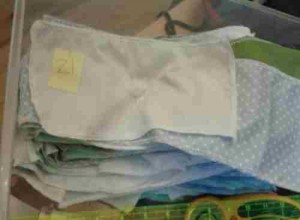
So each ‘column’ is pinned together in order.
The ‘column’ is given a number so I can keep track of it and keep it in order!
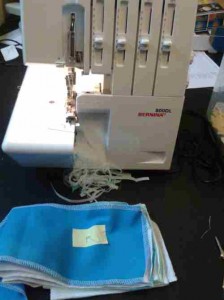
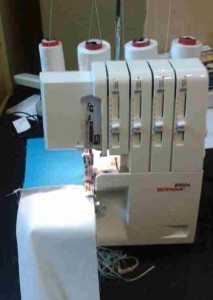
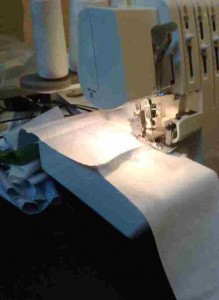
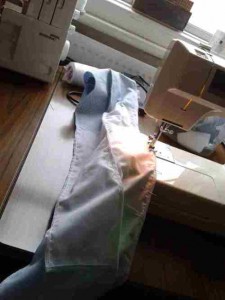
Each ‘column’ was pieced together on the sewing machine and then over-locked ( joins and the outer edges of each ‘column’)
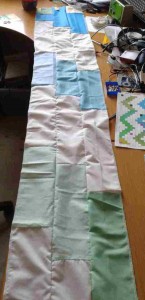
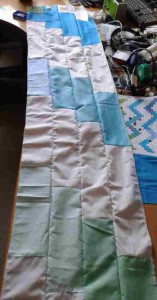
Each ‘column’ was joined together in numerical order, and the spacing between the pieces checked and fixed,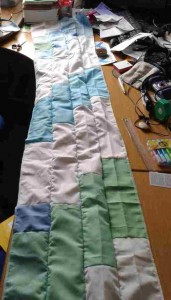 so that I got the pattern I was after!
This ‘Adapted Traditional Wedding Quilt’ had the opportunity to adapted the pattern further, allowing me to include pieces made from the bride and grooms old clothing – these pieces created their own chasing pattern intergrated into the main pattern. I’m really interested in reusing fabics where possible and bringing together old clothes from before their married life together into the quilt really appealed.
The joining together was a slow and steady job – each part being checked and double checked to ensure that it all fitted together.
Each section was then pieced together and the in-gutter stitching done for each section (apart from the very top and bottom pieces of each column and the two side columns!)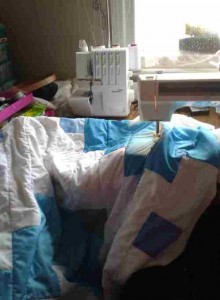
This is the bit where bigger quilts become a real challenge!
Details of the Bride, Groom and the wedding itself were then hand stitched onto some of the final pieces.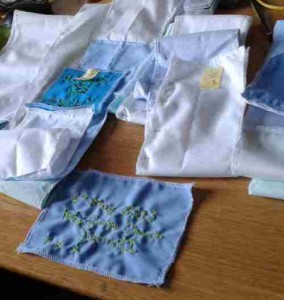
These pieces then joined the final columns and then section of the quilt!
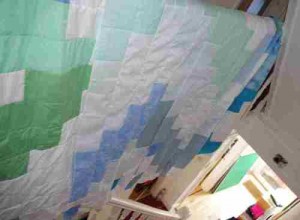
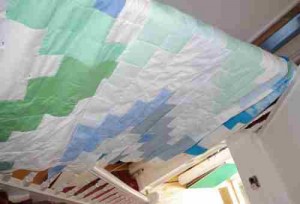
The final quilt was so big that I had to hang it over the banister to piece the sections together!
Once the final piecing was completed, the edging and final backing was put on and joined up. (This is a fleece backed quilt rather than a “sandwich” one!)
The final pieces recieved their in-gutter stitching and I was left with the job of tidying up each section – This is a hand sewing job and took many minutes (hours!) sitting on the stairs, tying, threading and hiding the threads.
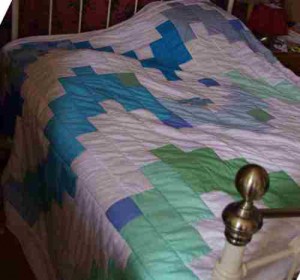
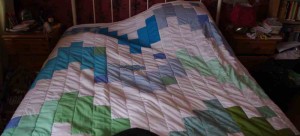
Finally, the quilt was completed and ‘tested’ on our bed (mainly to check the seams and then to do the folding and packaging!)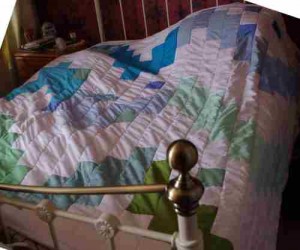
I’ve made a few other quilts in a variety of sizes, shapes and materials.
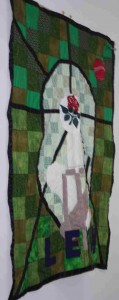
Wall Hangings
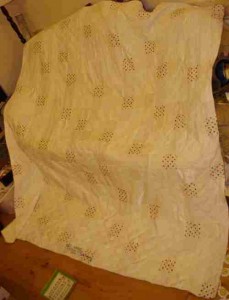
King Size Quilts
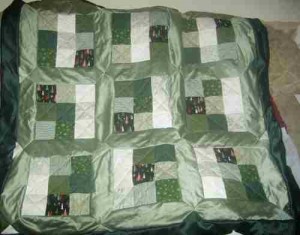
Suduko Quilts, keep warm quilts and children(s) designed ones too.
I’ve even done covers for computer trolleys at school!
So, the questions go;
Do you think you’d buy something like this (for yourself or someone else)?
and how much?
Be honest! Im interested in your thoughts and feedback (and orders too!)

