Category Archives: software

Pi3 Touch screen radio on with Phosh

I figured it may be helpful to note the steps I needed to create my Touch screen internet radio. I bought my capacitative touch screen a few years ago and really haven’t had much joy with it. It’s a 5″ display and uses HDMI and USB for the touch screen. The orange card you can see poking out the the top is integral to the design as the micro-usb to drive the touch screen and display power isn’t a good fit.

I chose Postmarket OS because I know it uses phosh and it has a tested pi3 image. First I created the image for the pi3 following the instructions here: https://wiki.postmarketos.org/wiki/Raspberry_Pi_3_(raspberry-pi3)

It looks a bit daunting but actually, if you read thing through carefully, it’s pretty easy.

Once booted I had three issues I needed to resolve before I could unleash the magic. No Wifi, No Audio, A Squintworthy default resolution.

No Wifi This was because pmbootstrap didn’t include the broadcom firmware in the image. I ssh’ed in and ran sudo apk add linux-firmware-cypress rebooted and the wifi came up like a charm. I added it to the wiki for you 🙂

No Audio: You might not hit this issue as it was a packaging error but the resolution is this https://postmarketos.org/edge/2021/04/02/pipewire-pulse/

$ sudo apk update
$ sudo apk add '!pipewire-pulse'
$ sudo reboot

Squintworthy: The default resolution it launched in was 1024×768. Everything I learned about X11 is useless with phosh as it uses Wayland. First you need to discover your display device. Stackoverflow helped me here with:

raspberry-pi3:~$ ls /sys/class/drm
 card0           card0-HDMI-A-1  renderD128      version

The bit after card0 you can stuff into /etc/phosh/phoc.ini with something like the following stanza:

[output:HDMI-A-1]
 mode = 800x600
 scale = 1

I think my screen is actually 800×480, or 848×480, but phosh hates it, even if I try and set a modeline, so weirdly squished screen ratio it is.

The last setting I’d like to set it is to force phosh into undocked mode by default so apps always take up the full screen, but I don’t know how to do that.

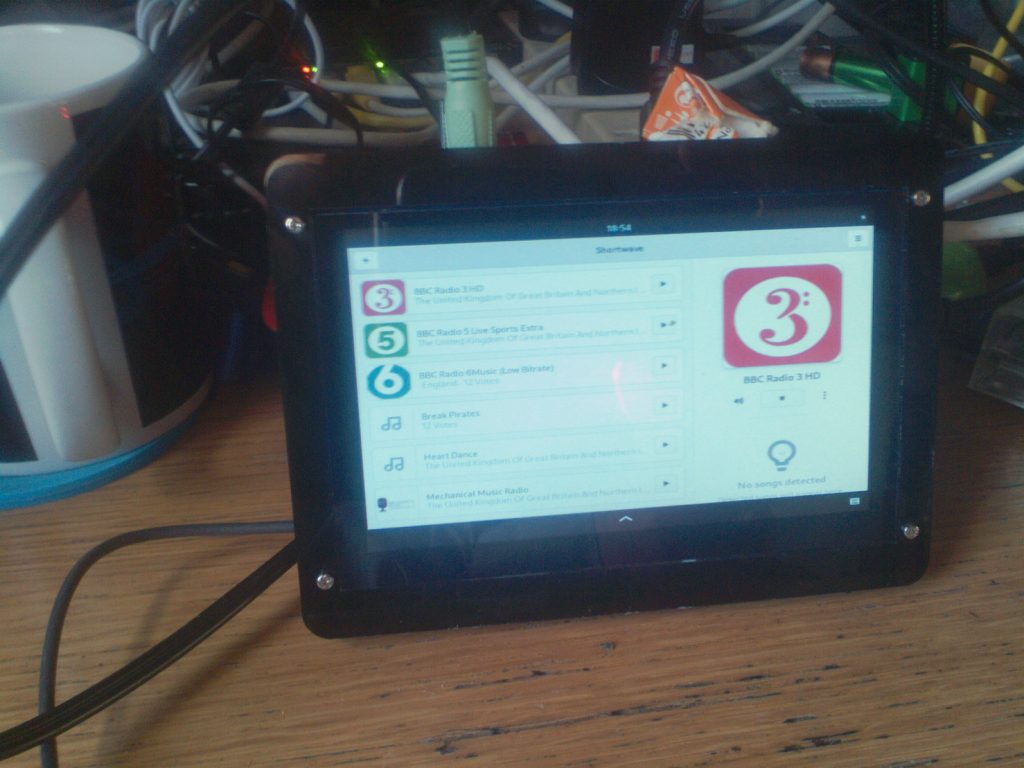
Finally, install flatpak, register flathub and install Shortwave the flatpak app is more up to date than the one in the alpine repos.

sudo apk add flatpak
flatpak remote-add --if-not-exists flathub https://flathub.org/repo/flathub.flatpakrepo
sudo flatpack install de.hackerfelix.Shortwave -y

I also installed gnome-weather so I can see if it will rain tomorrow.

In settings under power you will probably want to set “Blank Screen” to never, the pi has no buttons to wake it up.

ClearOS LDAP and remote clients.

ClearOS is a great server with multiple management web based management tools. It also has an OpenLDAP directory server and I needed to make it work for another PHP app in my LAN. Now, getting apps to use ClearOS Directory server is not too bad if your running on a localhost install, but remote access is difficult. All the information you need is out there but not all in one place. Here is what I learned.

I wanted it to be done with TLS, more for my own satisfaction than anything. TLS works best if you have a certificate that matches the DNS record of your server. I started by creating a self signed cert with openssl. There are many ways to do this but I used:

openssl req -x509 -newkey rsa:4096 -keyout ldapkey.pem -out ldapcert.pem -nodes -days 3650

Answer the qustions however you like but remember the CN should be your ldap server DNS name.

Next task is to get slapd to use the cert. In /etc/openldap/slapd.conf I set

TLSCACertificateFile /etc/openldap/cacerts/ldapcert.pem
TLSCertificateFile /etc/openldap/cacerts/ldapcert.pem
TLSCertificateKeyFile /etc/openldap/cacerts/ldapkey.pem
TLSVerifyClient never

and put the cert files generated by openssl in the appropriate places.

In order to get slapd running I also had to comment out lines like

#TLSCACertificatePath /etc/pki/nssdb
#TLSCertificateFile Server-Cert

Then on the ClearOS Dashboard you need to set the Directory Server Publish Policy to ‘Local Network’

On the client most tools will be querying the openldap config. For Fedora, which was my client OS, that is in /etc/openldap.

Firstly I needed to install the ldapcert.pem file into /etc/openldap/certs.

Next you need to create a symlink with the name being the hash of the cert. Fortunately there is a tool and running cacertdir_rehash /etc/openldap/certs will do the job for you.

Next in /etc/openldap/ldap.conf you need to add some lines

TLS_CACERTDIR /etc/openldap/certs

There is a lot of nonsense on the internet suggesting the use of TLS_REQCERT. I’d suggest your read the ldap.conf manpage because it seems no-one else has.

Mine is using ‘demand’ (the default) with a self signed cert and is fine.

In order to test Apaches ability to let a PHP app connect to an LDAP server I slightly modified php script from http://php.net/manual/en/function.ldap-bind.php

[php]

<?php

// using ldap bind
// ldap rdn or dn

$ldaprdn = ‘<ClearOS BIND DN>’;

// associated password

$ldappass = ‘<ClearOS BIND PASSWORD>’;

// set the script to print debug info

ldap_set_option(NULL, LDAP_OPT_DEBUG_LEVEL, 7);

// connect to ldap server
$ldapconn = ldap_connect("ldaps://<servername>:636")
or die("Could not connect to LDAP server.");

//set php_ldap to use ldapv3 as default is v2

ldap_set_option($ldapconn, LDAP_OPT_PROTOCOL_VERSION, 3);

if ($ldapconn) {

// binding to ldap server
$ldapbind = ldap_bind($ldapconn, $ldaprdn, $ldappass);

// verify binding
if ($ldapbind) {
echo "LDAP bind successful…";
} else {
echo "LDAP bind failed…";
}

}

?>
[/php]

and you can test your client configuration by running php-cgi -f .php

It has LDAP debugging on so you will be able to read all sorts of output to do with the TLS connection which I found immensely useful. You should also test it by hitting the webserver too by putting the script in the webroot and running curl 127.0.0.1/filename.php If you are getting errors here then check the webserver and php logs.

Finally, I was using php-fpm on my rhel server, it has a seperate php-fpm.service that needs to be restarted along with httpd to pick up any new openldap reconfiguration on the client. Also if you are running selinux in enforcing mode you will need to run
setsebool -P httpd_can_network_connect 1

Playing with Openshift Online Starter 3 – Installing Ampache

Heres a blog outlining how to run Ampache in the Openshift Online Starter 3 platform. It assumes a degree of familiarity with Openshift and it’s resources.

First, in a new project, create a new PHP 5.6 application from the Ampache git repo. In the advanced options enable TLS.
Then, using add to project menu and browsing the storage catalogue, add a mariadb with persistant storage.

When the pods are ready navigate to the exposed route for ampache and run the Ampache deployment wizard which will create the ampache.cfg.php file. You will need to know the mariadb secrets for the root account password and the user.

When it’s all running review the ampache.cfg.php file in the ampache pod by using the terminal. At this point if the pod goes away for any reason (scaling to 0 or node errors) the config file will be lost.

Create a config map with a key named ampache.cfg.php and put the contents of the config file in the pod in the key value. I copied the config file from git and manually made the changes as it’s only the db information that needs to be changed.

Scale the ampache down to 0

Edit the deployment configuration for ampache app to add a config file a volume. the mount point for my pod was /opt/app-root/src/config. Note that if the other files that are existing in that directory are missing Ampache will still run as they are only used as templates for headers.

Saving the config will cause a new pod to be built. I had issues with getting the new pod running due to the small quota limit in the free starter account which is why I would recommend scaling the existing pod to 0 before the deployment build is running. Then, when the deployment has finished, rescale the ampache pod back up to 1.

Notes:

I would expect it to be possible to create the mariadb deployment and the config map before the ampache build but I’m not sure how the database would be populated in that scenario.

You can’t really expect to put any music in the deployment of the free account as you only have one persistent volume and that’s being used by mariadb. Ampache allows you to have another ampache instance as a music source and I used that to test. You could possibly put some music in the ampache pod but only have 1 GiB of space you’d have to keep doing it on every pod deployment. To do it at deployment you’d need to have the music in the git repo that you clone the code from. Also there will be no transcodeing.

Site Tinkering

I’ve been doing some site tinkering, none of which you will see the benefit of but I will.

Oh apart from I’ve royally messed about with the gallery. but that’s what you get when you request a comments feature

iReport

I played about with iReport 3.5.1 and its new list component, it’s rather good. Here’s what I did.

I have a report that gives food sales within a date range and groups them by the food group (Meat, Vegetables and cake, say). One thing I’ve wanted to do for a while was have the total for each group in the summary at the end of the report. Continue reading →